Installation Guide

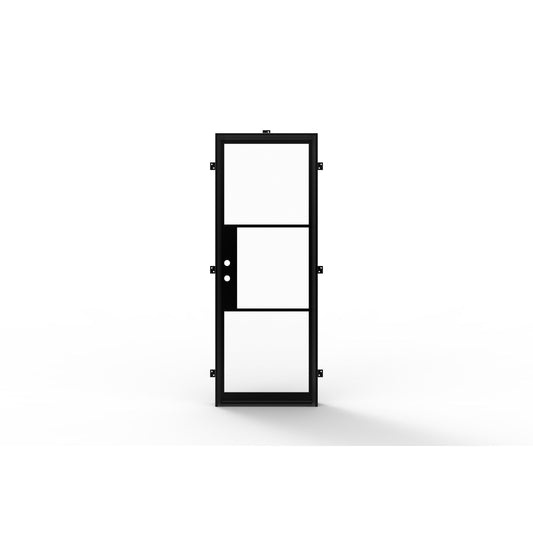
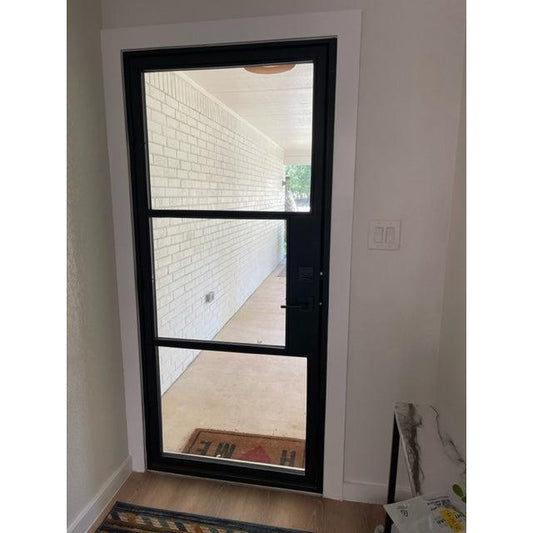
At Black Diamond Iron Doors, all of our wrought iron doors come pre-hung so that installation can be simple. All glass and accessories including hinges, threshold, window knob, roller catch, t-astragal, mounting tabs, etc. come already installed on the door slab!

The hardest part about installing iron doors is the weight of the door and that the frame must be perfectly level in order to avoid issues with alignment. 

Our doors can be installed in 2-4 hours and many of our customers choose to install the doors themselves. However, we do recommend getting an installer with experience with iron door installations!

Our Step by Step Installation Guide: 

STEP 0: Unpackaging Your Door

We ship the door slab and jamb separately so that shipping & delivery is much easier. Your package will include a door slab that is protected by an individual wooden crate, cardboard, bubble wrap, corrugated paper, and plastic wrap.

When opening the crate, carefully remove the wooden crossbeams and then the cardboard. Carefully cut through the bubble wrap to remove the door. Tell the installer to be careful when using a box cutter, knife, or razor blade so they do not scratch the finish or glass on the door slab. It is best to cut at the side and to lift the packaging up when cutting to avoid accidently cutting into the door.

For operable glass doors - We recommend removing the glass from the door slab by unscrewing the glass window knobs and lifting up in order to reduce the weight of the door to installation. 

Next, the frame will come packaged in cardboard and bubble wrap. Make sure to carefully cut the cardboard and bubble wrap on the outside of the jamb to avoid accidently cutting into the finish. If the installer cuts into the finish and makes a scratch, we provide touch-up paint for this reason. 

Once the jamb/frame is opened: Check to make sure there are copper washers on all 4 hinges. If there is not, please contact us for a replacement. 

Once the frame and door slabs are unwrapped with the glass removed, we can begin the installation process. 

STEP 1: Take Measurements

Verify that the rough opening is at least ½-1” wider on all sides of the outside of the jamb. Rough Opening must be 1/2-1" larger than door size ordered. 

STEP 2: Check Frame

Make sure the frame surrounding the door is solid and free of movement. If the walls surrounding the door are not properly secured, this could allow for unwanted movement of the door after it is installed. This could result in damage of the door unit or the door not shutting properly.

STEP 3: Check Height & Threshold

Check the height of the finished floor in relation to where the sweep on the door slab will be. It may be necessary to raise the area under where the threshold of the door will rest. Keep in mind any rugs or floor coverings the customer is considering placing at the interior entrance area of the door and allow for clearance of the door slab and the sweep.

STEP 4: Insert Door Jamb In Opening

Place the door jamb, or frame, in the opening. Make sure the threshold portion of the frame is resting completely flat on the subfloor and that no debris is under the jamb. Check to make sure the jamb is level. Sometimes, the jamb may need to move closer to one side of the opening or another in order to be level. 

IMPORTANT: The jamb must be 100% level or the doors will not align properly.

Sometimes, if the ground is unlevel, wood shims may be needed to make sure the jamb is perfectly set in order for the doors to align & shut properly.  

STEP 5: Align Mounting Tabs & Bolt Holes

After making sure the jamb is plumb, mark on the studs or sheetrock where the mounting tabs are and the bolt holes of the tabs. It may be necessary to remove the sheetrock behind the tabs so the bolts do not hinder the ability to install casing on the inside after the door is installed.

STEP 6: Secure Jamb With Bolts 

You may want to consider pre-drilling pilot holes for the bolts to keep the studs from splitting, which would weaken the integrity of the installation. Now you are ready to secure the jamb into the r/o with the bolts through the mounting flange into the studs.

IMPORTANT: ONLY SECURE THE TOP BOLT TO THE MOUNTING TAB BEFORE INSTALLING THE DOOR SLABS!!!

This is very important so the frame can have some movement to fix any issues if the door slabs are not aligned, there are gaps between the frame and door, or if the door slab is hitting the frame when opening/closing. 

STEP 7: Install Door Slabs 

For Operable Glass Doors - remove the glass panels from the door slabs to reduce weight by turning the window knobs and lifting up on the glass panels. 

Now you are ready to hang the first door slab. Hang the nonactive or stationary door first. This door will slightly weigh more than the active door so it is best to put on first for alignment. The door slabs will be hung by aligning the door slab hinge and the jamb hinge.

IMPORTANT: For a smooth hang, hang the door slab perpendicular or over a 90 degree angle to the jamb as if the door is fully opened. 

If the stationary door shuts correctly, lock the door in place using the flush bolts. If the stationary door does not shut correctly, check the alignment of the jamb. The jamb may to need to move slightly in order for the door to shut correctly. 

Once the stationary door shuts correctly and is in a closed position, hang the active door. Again, hang the door perpendicular to the jamb in a fully open position for a smooth process. Check to see if this door shut correctly. If this door is not aligned correctly, slightly moving the jamb will cause the door to align correctly. 

IMPORTANT: You may need to slightly move the frame from side to side in order to align the door slabs or if any gaps occur on the top or bottom of the door and frame. 

Placing the slab on the hinges is best done with two or three installers. Pay close attention to where you handle the door, especially if you are holding the door by its scroll work. The scroll work could become bent or damaged if pressure is applied in the wrong fashion. Also, you may consider placing small pieces of cardboard around the area of the hinges to prevent unwanted scratches.

Once the door can open and close freely, bolt the left & right mounting tabs to ensure the door will not move over time and become misaligned.

For operable glass doors - add the glass panels to the hung door slabs. 

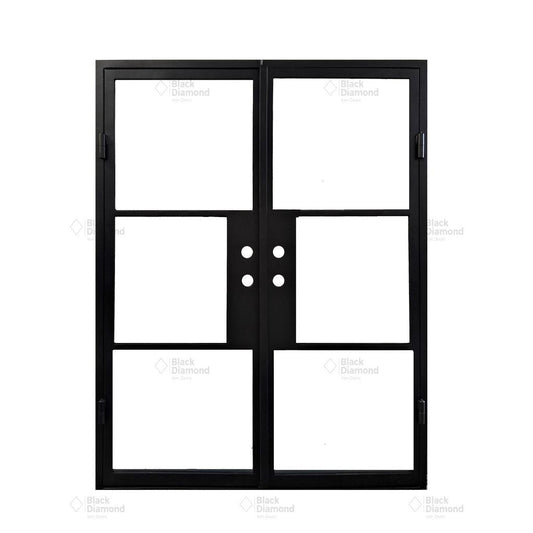
IMPORTANT: Double Doors - Do NOT cut the excess middle weather-stripping on the top & bottom of the door astragal! This could cause an air gap between the astragal and the door.

If your active door is slightly hard to close, don't worry. This is because the astragal weather-stripping is brand new and will be stiff for a few months. 

STEP 8: Flush Bolt Adjustments (Double Doors) 

Sometimes the flush bolt pin on the top & bottom of the door may need to be adjusted longer or shorter. Flush bolts pins are adjustable.

1. Open the non-active door and lock both flushbolts so the flushbolt pin is sticking out. 
2. Twist the flushbolt pin clockwise or counter-clockwise depending on if you need to shorten or lengthen the pin.

Note: For the bottom flushbolt pin, you may need to slightly remove the door sweep and use a plier wrench since it can be hard to reach so close to the ground. 

STEP 9: Troubleshooting

Aligning a pre-hung steel door can be tricky & time consuming but worth the extra effort to ensure the door closes properly.

If your door slabs are hitting each other, the steel frame/jamb, or are not even on the top, the frame will need to be readjusted.

Remove door slabs and installation bolts on each side and only mount 1 bolt on the top mounting tab. This will allow you to move the frame in either direction. 

You may need to hang the doors multiple times to ensure they are aligned properly. 

We recommend getting an installer experienced with iron door installations! 

STEP 10: Install Hardware

All that is left is to install the door’s handle(s) and you are ready to enjoy your iron door from Black Diamond Iron Doors.

IMPORTANT: You may need to drill holes into the door to attach certain handles or 3rd party accessories. 

When shutting the door for the first time once handles and locks are installed. It may be difficult to lock because the weatherstripping is still very new and stiff. Once the door is locked for a few weeks, the door will be easier to close.

IMPORTANT: The strike plates may be different as not all hardware brand strike plates will fit perfectly. Additionally, the strike plates may need to be adjusted with a hand file or Dremel for easier close.